

To edit your footer section:
Step 1: Open the Footer
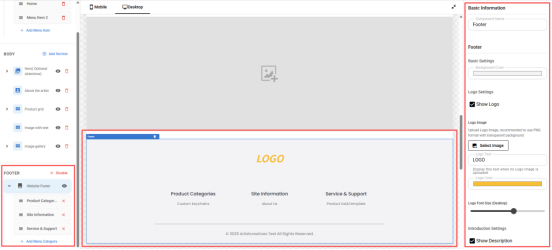
In the left panel, click on Footer, the settings panel will appear on the right, showing all available options for your footer settings.
Step 2: Add or Edit Footer Menu Items
In the left panel, expand the Footer dropdown to view the menu items.
You can add new menu items, delete existing ones or rearrange their order.
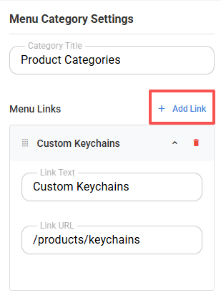
Each menu item can contain one or multiple Quick Links. For each quick link, you can assign a link to the corresponding internal page or external website.
Step 3: Customize Footer Layout
Click on Footer, you can adjust the following elements in the settings panel on the right:
Footer Name – Set a descriptive name for this footer block.
Background –Change the footer’s background color.
Logo – Upload a logo image; if no logo is available, you can use text instead and customize its color and size.
Description Text – Add text content such as a tagline or brand information, and customize its font size and text color.
Social Media Links – Add links to your Instagram, Twitter, or other social media accounts.
Copyright – Add a copyright notice at the bottom of your footer.
Step 4: Preview and Save
Preview your footer to see how it looks on desktop and mobile devices.
After making changes, click Save, then Apply to make them live.
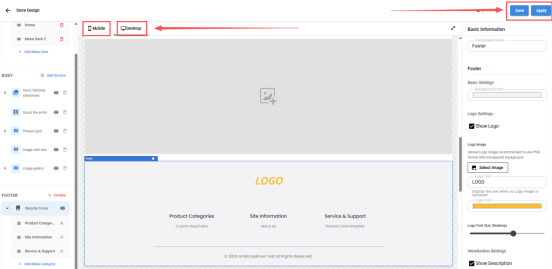
Note: When you make any changes on your page, you need to click Save before you can Apply.